If you’d like a printable version of this tutorial for your classroom or for personal use, click here!
To check out our article about GIMP, click here!
Required materials:
The Tutorial:
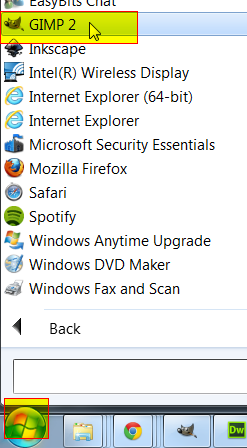
1. Open GIMP.
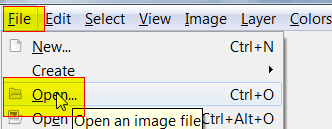
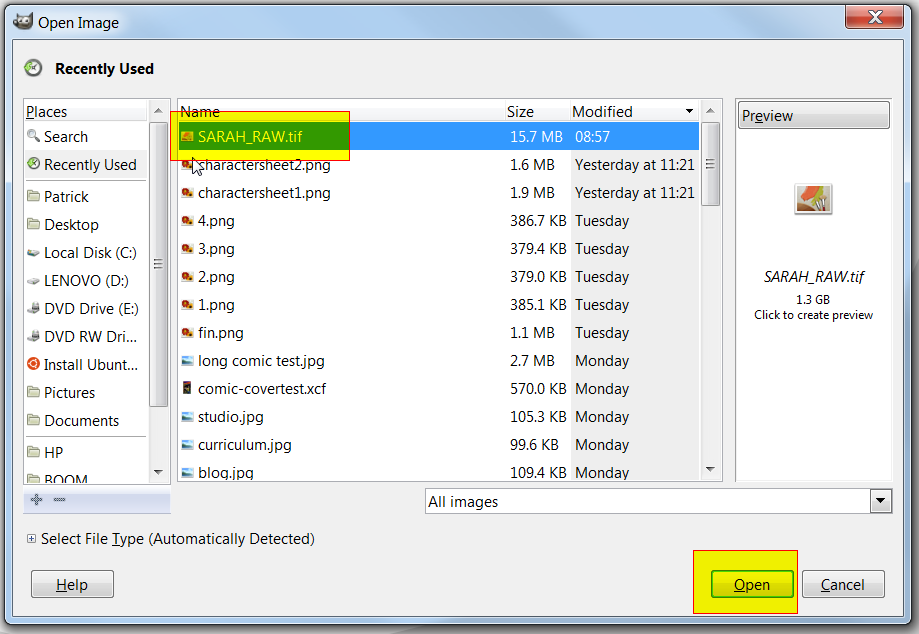
2. Click on File>Open.
3. Locate the file that you created in Part 1 of this tutorial and click “Open.”
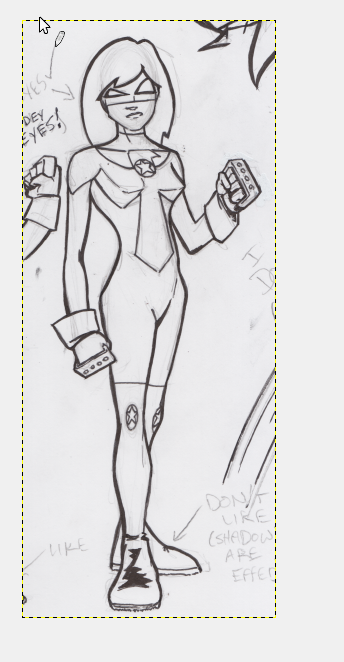
4. Your picture should look similar to this.
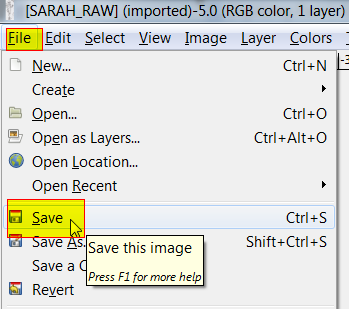
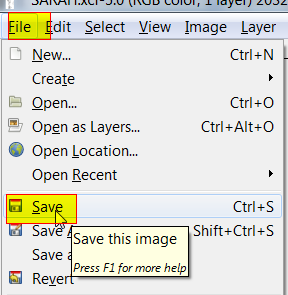
5. Click on File>Save.
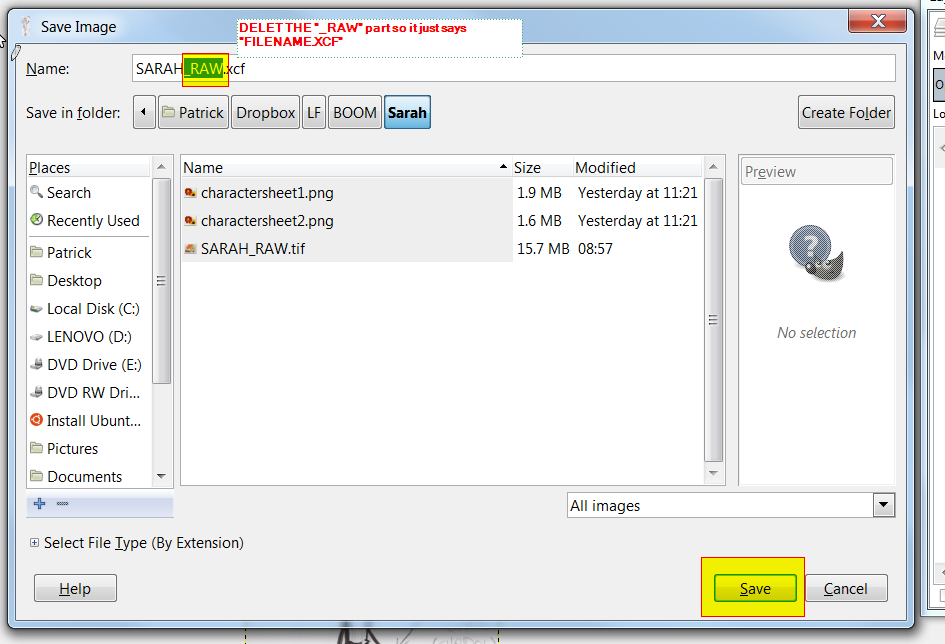
We saved the original scan in a format called “.tif” because that type of file preserves a high level of detail in the image. However, that format does not retain the type of working data that GIMP requires. The GIMP extension for these files is called “.xcf” which is how the file will now be saved.
6. In the “Name” field, remove “_RAW” from the file name (the file is no longer unprocessed) and click “Save.”
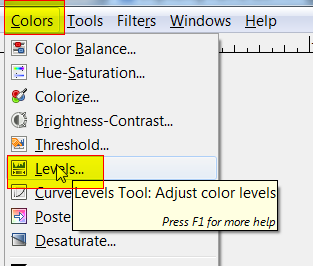
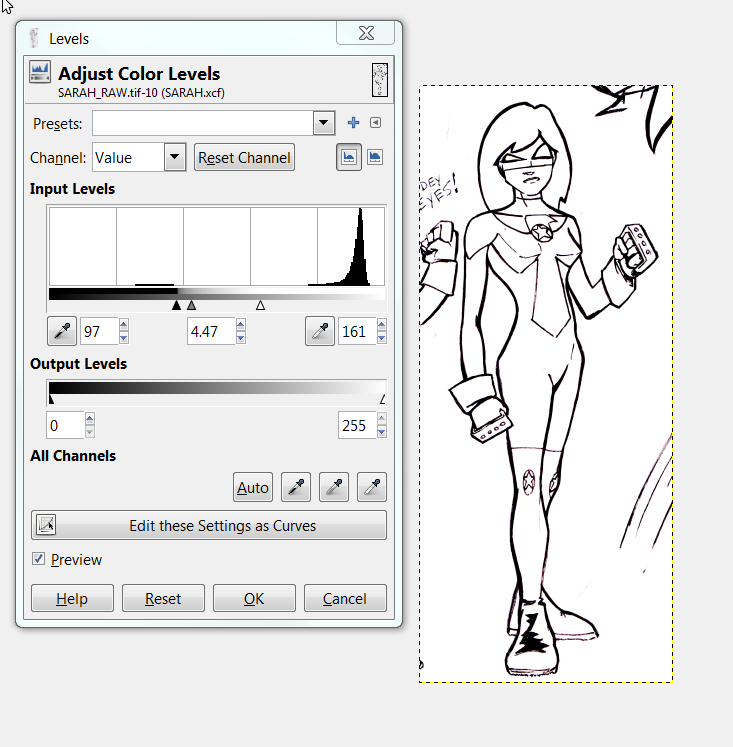
7. Now that the file has been fully set-up, it’s time to adjust the value range of black and white. This will make the pencil lines disappear! Click Colors>Levels.
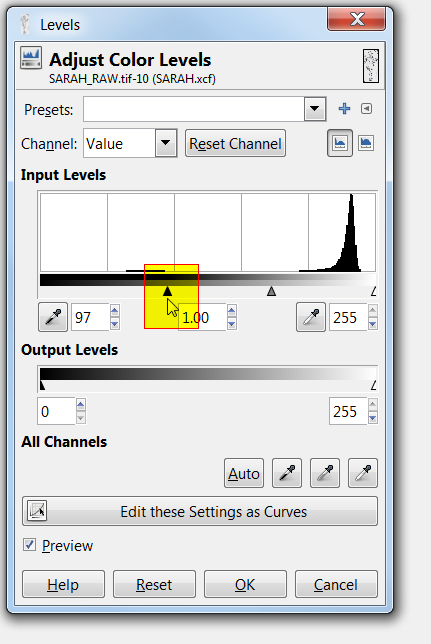
8. Click and hold the little black triangle below the “Input Levels Section” graph and slide it to the left. The appearance of your image will change. When you do this the dark values in your image get darker.
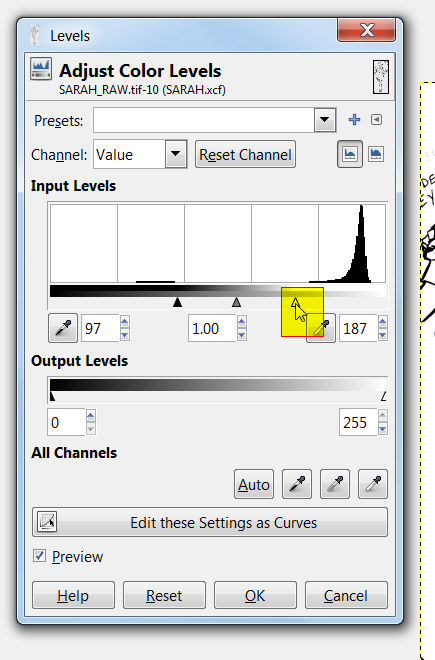
9. Now do the same with the white triangle on the opposite end of the graph. You will see the light values in your image get lighter, causing the faint greys in the image to disappear.
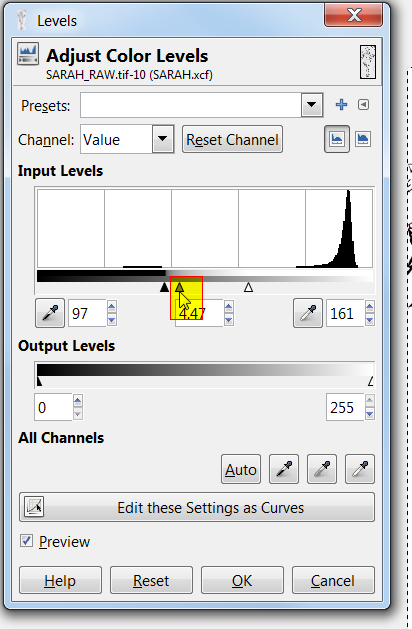
10. Finally, click on the grey triangle between the two ends of the graph and drag it closer to the black end of the spectrum. Once all of the pencil lines have disappeared, stop moving the slider.
11. Before you click “OK” to commit the adjustments, compare your image to the one below. All of the grey should be gone, leaving a pristine, black-and-white picture.
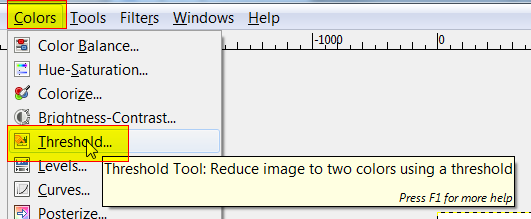
12. Click on Colors>Threshold.
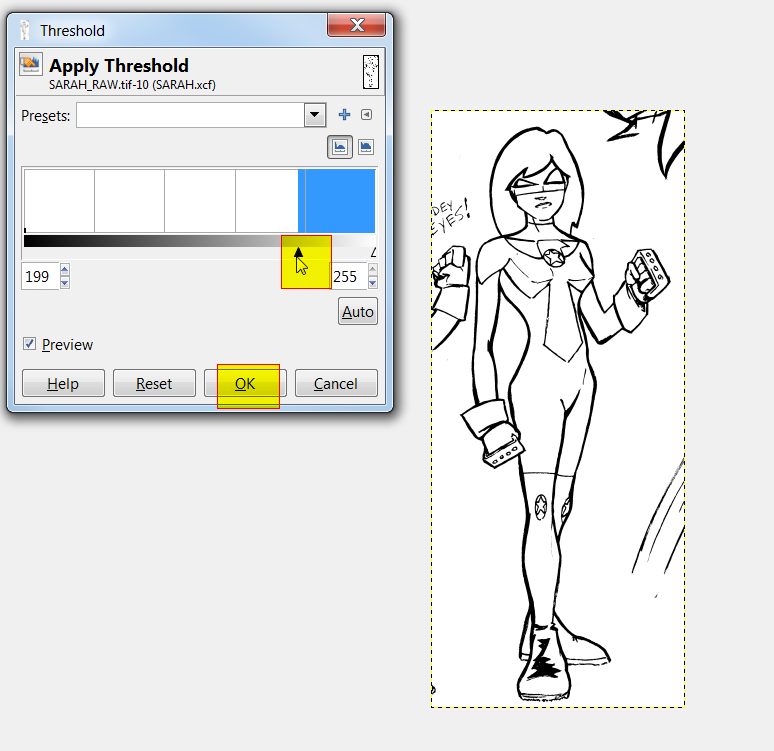
13. Click on the black triangle in the “Threshold” window and slide it to the right until you feel that the the lines appear smooth. Then click “OK.”
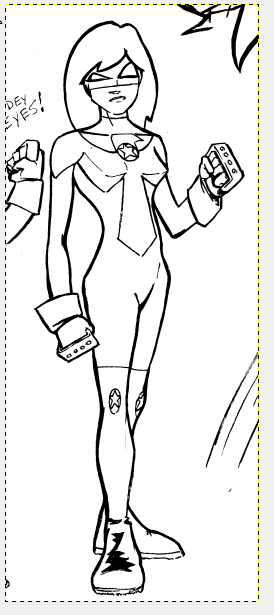
 14. Your image should now look like this:
15. Click on File>Save.
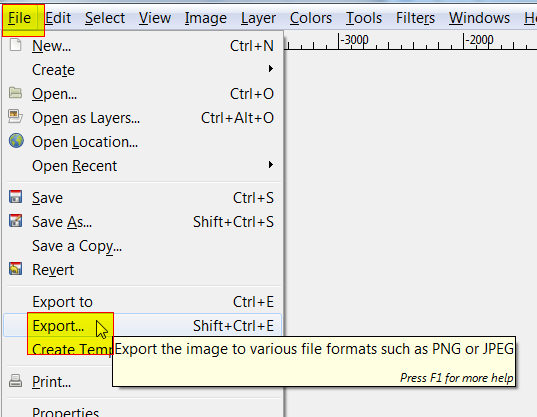
16. Now click on File>Export.
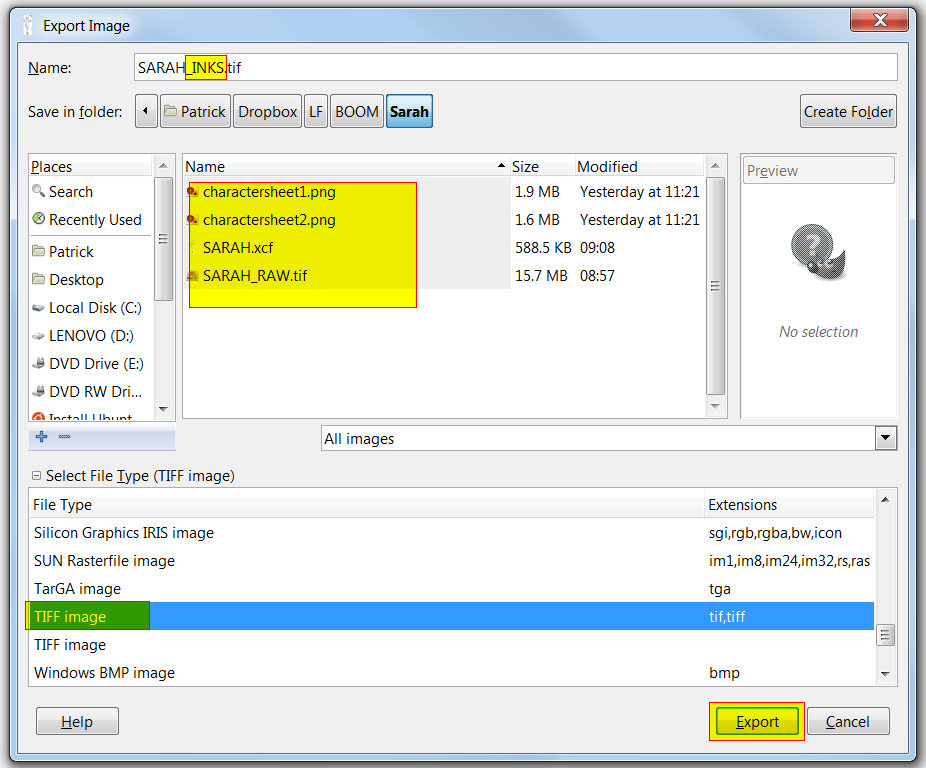
17. Locate the correct destination folder. Rename the file to follow the format “FILENAME_INKS” and change the file type back to “.tif” (the original compression). Finally, click “Export.”
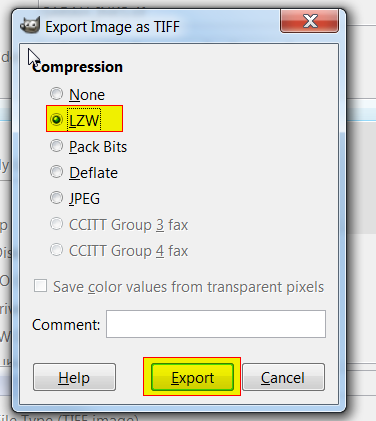
18. Select “LZW” compression and click “Export.”
19. On to the next tutorial!